
I’m testing out django CMS for a small personal site, bobtiki.me, and installing it on my WebFaction hosted server. I’m writing down the steps, so you don’t have to! (And by "you," I mean "future Mark who has forgotten these steps.")
I’ve had a great experience with WebFaction — they’re both inexpensive and reliable. If you’d like to give them a try, please use this affiliate link to sign up for a free trial, and try installing for yourself.
Create a new website
On my.webfaction.com, log into your account and go to:
- Domains / Websites > Websites > Add new website
- Name:
my_cms(or whatever you prefer here) - Status:
Enabled - Security:
Normal website (http)for this tutorial, but I highly recommend moving tohttpsfor all sites soon. It’s outside of the scope of this article, but I’m eyeing the free Let’s Encrypt for getting certificates. - Domains:
example.com(or whatever your domain is)
Then click the Add an application button, then Create a new application, and in the pop-over form:
- Name:
my_cms(I like to keep the application name the same as the site name, unless I have multiple applications handling one site) - App category:
mod_wsgi - App type:
mod_wsgi 4.5.2/Python 3.5(latest versions as of this writing) - Open port: leave unchecked
- URL: should be pre-filled with
http://example.com/ - Save
Once saved, click Save again to finish creating the new website.
We’re going to need a database for the site, so while we’re here in the WebFaction control panel, let’s create one:
- Go to Databases > Databases > Add new database
- Name:
my_cms - Database type:
PostgreSQL - Encoding:
Unicode - Database owner:
Create a new postgresql user, and enter your user and password combo here. - Add-ons: leave all unchecked
- Save
Yay! Now visit your domain in your browser and you should see something like this:
Welcome to your mod_wsgi website! It uses:Python 3.5.1 (default, Jan 23 2016, 01:36:36) [GCC 4.4.7 20120313 (Red Hat 4.4.7-16)]WSGI version: (4, 5, 2)Remove htdocs
Now that we’ve seen /webapps/my_cms/htdocs powering the test wsgi page, its usefulness has passed, so delete the directory.
Note
For file management on my server, I’m using the Mac app Transmit to connect over SFTP. I’m going to assume that if you prefer to manage your files in the command line, you know how to do that.
Virtual environment
First, ssh into your web server and change to the site’s webapp directory:
$ ssh user@example.com$ cd webapps/my_cmsThen, let’s make a virtual environment for the new Django site to run under. I’m calling mine my_cms (I know, not very imaginative).
Since we are using Python 3.5, virtualenv and virtualenvwrapper are no longer needed. Python 3.3 and later include its own virtual environment tool, venv.
We want Python 3.5, so we’ll run that version of pyvenv to create the virtual environment, then activate it:
$ pyvenv-3.5 ~/.virtualenvs/my_cms$ source ~/.virtualenvs/my_cms/bin/activate(my_cms) $When you see the venv name in parentheses in front of your prompt, you know it’s activated.
I really miss the
workon my_cmsstyle activation that virtualenvwrapper provided. TODO: Research replacement for use with Python 3.3+’svenv.
Even though even though pyvenv defaults to the include-system-site-packages key set to false, there is a global site customization policy in WebFaction’s system Python installations, which automatically includes some other packages, and venv isn’t able to ignore it. To work around this, create an empty file named sitecustomize.py in your environment’s lib/python3.5 directory, like so:
(my_cms) $ touch ~/.virtualenvs/my_cms/lib/python3.5/sitecustomize.pyThe file doesn’t need to have any contents; its very presence performs the override. Now you shouldn’t see the system site packages when your environment is activated.
First, make sure the version of pip inside your virtual environment is up to date:
(my_cms) $ pip install --upgrade pipThen, install the django CMS installer:
(my_cms) $ pip install djangocms-installerCreate a new directory to work in, and cd into it:
(my_cms) $ mkdir my_cms_project(my_cms) $ cd my_cms_projectRun the installer to create a new django CMS project called my_cms:
(my_cms) $ djangocms -f -p . my_cmsDatabase configuration (in URL format) [default sqlite://localhost/project.db]: postgresql://my_cms_user:password@localhost:5432/my_cmsdjango CMS version (choices: 3.0, 3.1, 3.2, 3.3, stable, rc, develop) [default stable]: Django version (choices: 1.8, 1.9, stable) [default stable]: Activate Django I18N / L10N setting; this is automatically activated if more than language is provided (choices: yes, no) [default yes]: Install and configure reversion support (choices: yes, no) [default yes]: Languages to enable. Option can be provided multiple times, or as a comma separated list. Only language codes supported by Django can be used here: enOptional default time zone [default UTC]: US/PacificActivate Django timezone support (choices: yes, no) [default yes]: Activate CMS permission management (choices: yes, no) [default yes]: Use Twitter Bootstrap Theme (choices: yes, no) [default no]: yesUse custom template set [default no]: Load a starting page with examples after installation (english language only). Choose "no" if you use a custom template set. (choices: yes, no) [default no]: yesCreating the projectPlease wait while I install dependenciesDependencies installedCreating the projectOperations to perform: ...Creating admin userUsername (leave blank to use 'username'): Email address: user@example.comPassword: Password (again): Superuser created successfully.All done!Get into "/home/username/webapps/my_cms/my_cms_project" directory and type "python manage.py runserver" to start your projectConfigure Apache and WSGI
We are now ready to configure Apache to serve our Django project. In order to do this, we’ll need to modify the contents of the Apache configuration file, ~/webapps/my_cms/apache2/conf/httpd.conf so that it knows to run our django-cms and to activate the virtual environment. Copy the original file to a backup (just in case), and make these changes:
ServerRoot "/home/username/webapps/my_cms/apache2"LoadModule authz_core_module modules/mod_authz_core.soLoadModule dir_module modules/mod_dir.soLoadModule env_module modules/mod_env.soLoadModule log_config_module modules/mod_log_config.soLoadModule mime_module modules/mod_mime.soLoadModule rewrite_module modules/mod_rewrite.soLoadModule setenvif_module modules/mod_setenvif.soLoadModule wsgi_module modules/mod_wsgi.soLoadModule unixd_module modules/mod_unixd.soLoadModule alias_module modules/mod_alias.soLogFormat "%{X-Forwarded-For}i %l %u %t \"%r\" %>s %b \"%{Referer}i\" \"%{User-Agent}i\"" combinedCustomLog /home/username/logs/user/access_my_cms.log combinedErrorLog /home/username/logs/user/error_my_cms.logListen 13356KeepAlive OffSetEnvIf X-Forwarded-SSL on HTTPS=1ServerLimit 1StartServers 1MaxRequestWorkers 5MinSpareThreads 1MaxSpareThreads 3ThreadsPerChild 5WSGIDaemonProcess my_cms processes=2 threads=12 python-home=/home/username/.virtualenvs/my_cms python-path=/home/username/webapps/my_cms:/home/username/webapps/my_cms/my_cms_project:/home/username/.virtualenvs/my_cmsWSGIProcessGroup my_cmsWSGIRestrictEmbedded OnWSGILazyInitialization OnWSGIScriptAlias / /home/username/webapps/my_cms/my_cms_project/my_cms/wsgi.pyNow, restart the Apache server:
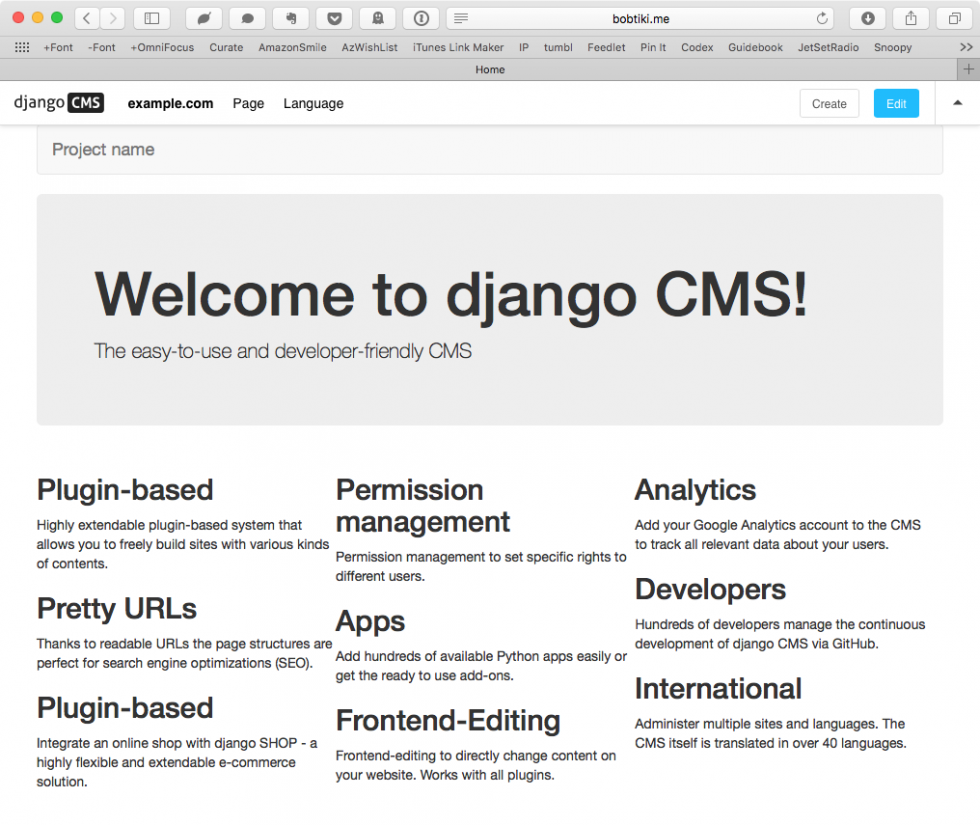
(my_cms) $ $HOME/webapps/my_cms/apache2/bin/restart…and you should see the django CMS example home page.
Bibliography
Helpful information came from these articles and forum posts:
- The official django CMS installation docs
- My instructions on how to upgrade a Django site to use virtualenv, some of which is now out of date
- Much of that post owes a debt to this helpful post by Michał Karzyński
- 28.3.
venv— Creation of virtual environments in the official Python docs - Using a virtual environment with mod_wsgi from the WebFaction docs
- This WebFaction forum post, Activate virtualenv from wsgi file for Python 3.4, pointed out that modifying the Django
wsgi.pyfile to runactivate_this.pyis not at all necessary - Start a real world Django project with virtual environment, by Mikko Haapanen, has some additional tips on management and deployment of Django projects