Came across this by accident today. Love this idea of using polarization to add funky colors
Mac Server Reliability Scripts
NOTE: This is based on a GitHub repo at https://github.com/swizzlevixen/Mac-Server-Reliability which may contain updates from what is written here. Please Check my GitHub, or comment here, if you encounter any errors. This is a collection of helpful notes, and a suite of scripts written for my Mac mini M2 server, that help with server reliability,…
Thanksgiving Drinks 2024
For thanksgiving this year, I made two cocktails for pre-dinner drinks. Here are the full recipes. Flannel Shirt A recipe from Jeffrey Morgenthaler, this whisky and apple cocktail with spiced notes tastes like Thanksgiving in a glass. 13⁄4 oz/50 ml scotch whisky 11⁄2 oz/45 ml fresh apple cider 1⁄2 oz/15 ml Averna amaro 1⁄4 oz/7.5…
Holiday Cards 2023
If you received a holiday card from us this year, your card features a unique collection of snowflakes that was drawn especially for you by a robot (with a very generous helping of assistance from a real live human being). The particular set of snowflakes, their position, and rotation were uniquely generated for each card…
Managing Home Media
As companies start to decide that sometimes it is better for them to remove access to media that you have “purchased” — I thought it would be good to share how I manage my media at home. This is a living document that I plan to update with more details and better techniques, as I…
Reverse proxy a domain to a Docker container on Synology NAS DSM
This is more to remind myself of how to do it — it may not be 100% complete, or exactly fit your needs! I’m going to assume that you have the Docker package installed, and a Docker container running on the Synology NAS, serving http content on a port that is not 80 or 443….
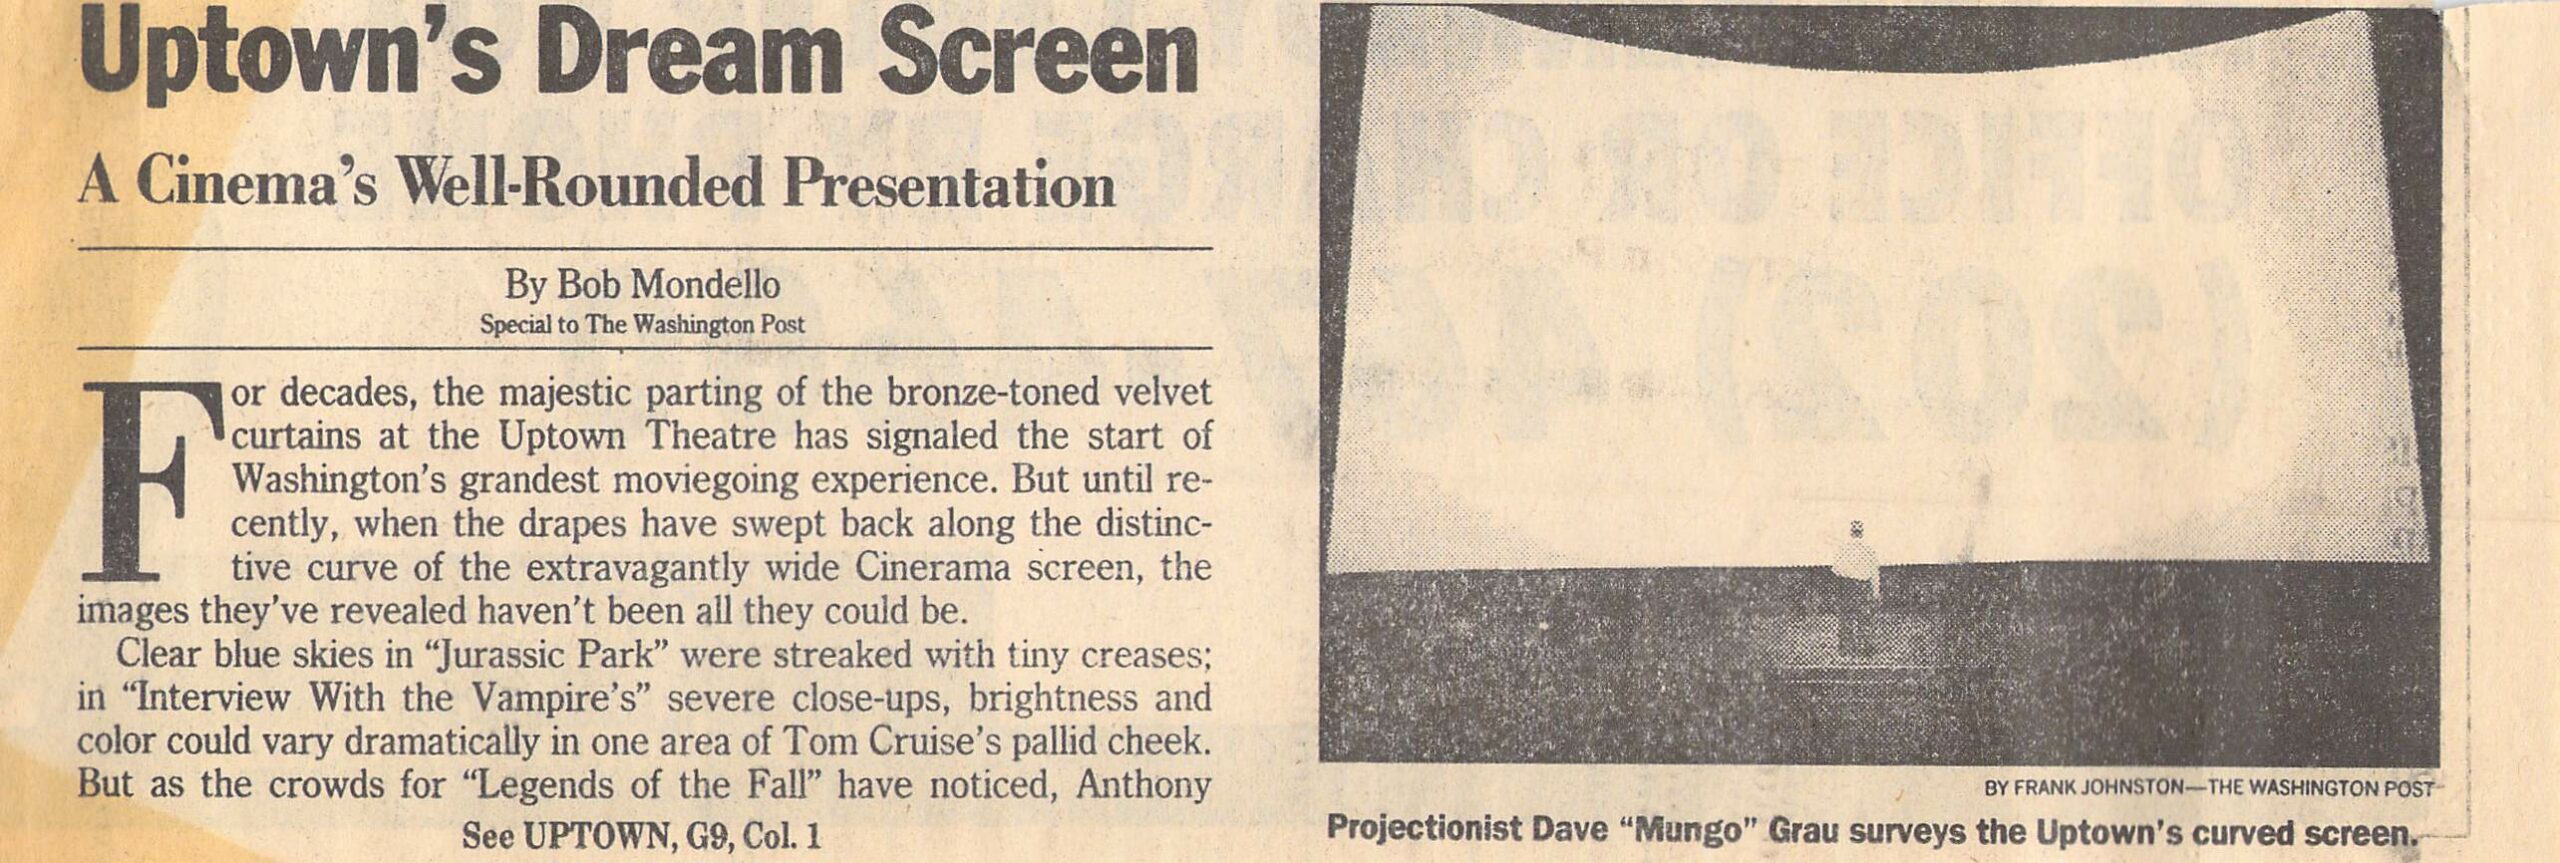
Uptown’s Dream Screen
I used to live near DC and went to the Uptown theatre there a lot (sadly, now closed, due to the pandemic). I just came across this clipping I saved while sorting and tossing old papers. It’s from Sunday, January 29, 1995, in The Washington Post, talking about how their old vertical-strip Cinerama screen was…